Securely access home network with Cloudflare Tunnel and WARP
When Cloudflare announced that their Tunnel service would become free, I saw an opportunity to strengthen the security of my Home Assistant instance. Until now, I have been using Cloudflare's CDN to connect to my HA instance, but that required opening ports on my router and setting complicated firewall rules.
By using Cloudflare Tunnels together with Cloudflare WARP, I could close ports and access my entire home network in a much safer way. Here's how I did it.
The setup
The idea of Cloudflare Tunnels is simple: connect your home network to Cloudflare's network. Then use Cloudflare WARP to connect your devices to Cloudflare's network and let it route traffic to your home.
Accessing private networks with Cloudflare Tunnel and WARP
Cloudflare WARP is an interesting service. It's essentially a free VPN that protects your internet traffic by routing it through Cloudflare's network. However, it has a killer feature: split-tunnels.
Normally, when you connect to a VPN server, all your internet traffic flows through that server. That means that your internet speed will depend on the connection speed of that server. Hosting a VPN server at home means your connection becomes as slow as your home's upload speed, which is usually very slow. WARP will only send local traffic to your home. Your regular internet traffic stays blazing fast.
To follow along with this post, you'll need:
- A Cloudflare and Cloudflare Teams account (both free)
- A small server or computer that's always running on your home network
Step 1: Install "cloudflared" on your network
To connect a private network to Cloudflare, a daemon must run on a computer inside that network. Here, that's cloudflared and it will open a tunnel from within your network, so no ports have to be opened.
To install cloudflared, follow Cloudflare's documentation. I installed it inside an LXC container on my Proxmox server. I chose Alpine Linux as the template, which required an additional dependency:
apk add libc6-compat
With the daemon installed, login to your Cloudflare Team account:
cloudflared tunnel login
Next, create a tunnel and give it a name. I choose tunnel-home:
cloudflared tunnel create tunnel-home
This command will spit out a UUID of your tunnel. Keep track of it. Cloudflare now knows about your tunnel, but no traffic can flow through it yet.
Now we have to tell cloudflared that this tunnel should be accessible via WARP. Create a configuration file config.yaml inside ~/.cloudflared/ directory with the following contents:
tunnel: tunnel-home
credentials-file: /root/.cloudflared/YOUR-TUNNEL-UUID-HERE.json

warp-routing:
  enabled: true
All done, now you can start the tunnel:
cloudflared tunnel run tunnel-home
Finally, tell the tunnel which traffic it should route. My home network is running in the range 192.168.2.0/24, so I have to do:
cloudflared tunnel route ip add 192.168.2.0/24 tunnel-home
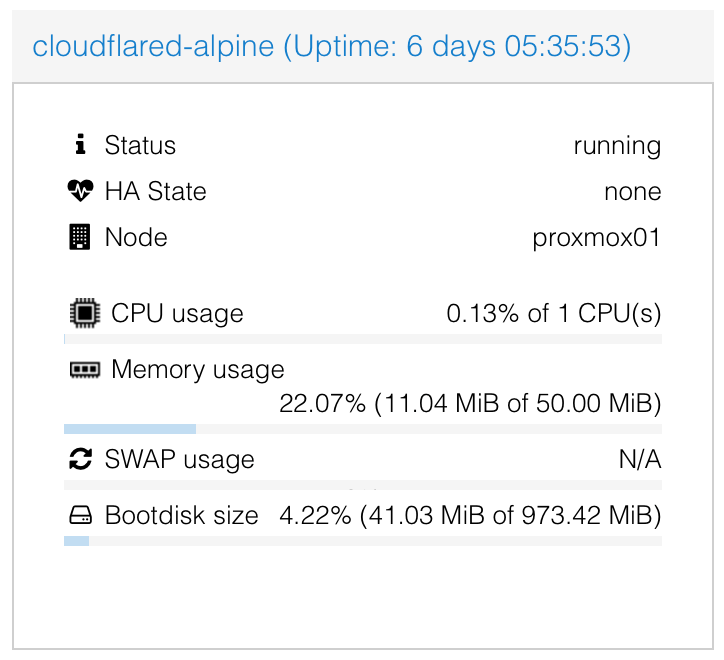
That's it. Your home network is now connected to Cloudflare. You can even expose multiple networks or VLANs by using the same instructions. The daemon itself is very lightweight and only consumes 11MB of memory and barely any CPU:
Step 2: Configure your Team
Next, you need to make sure that not everyone can login to your Cloudflare Team. You'll need to add some restrictions.
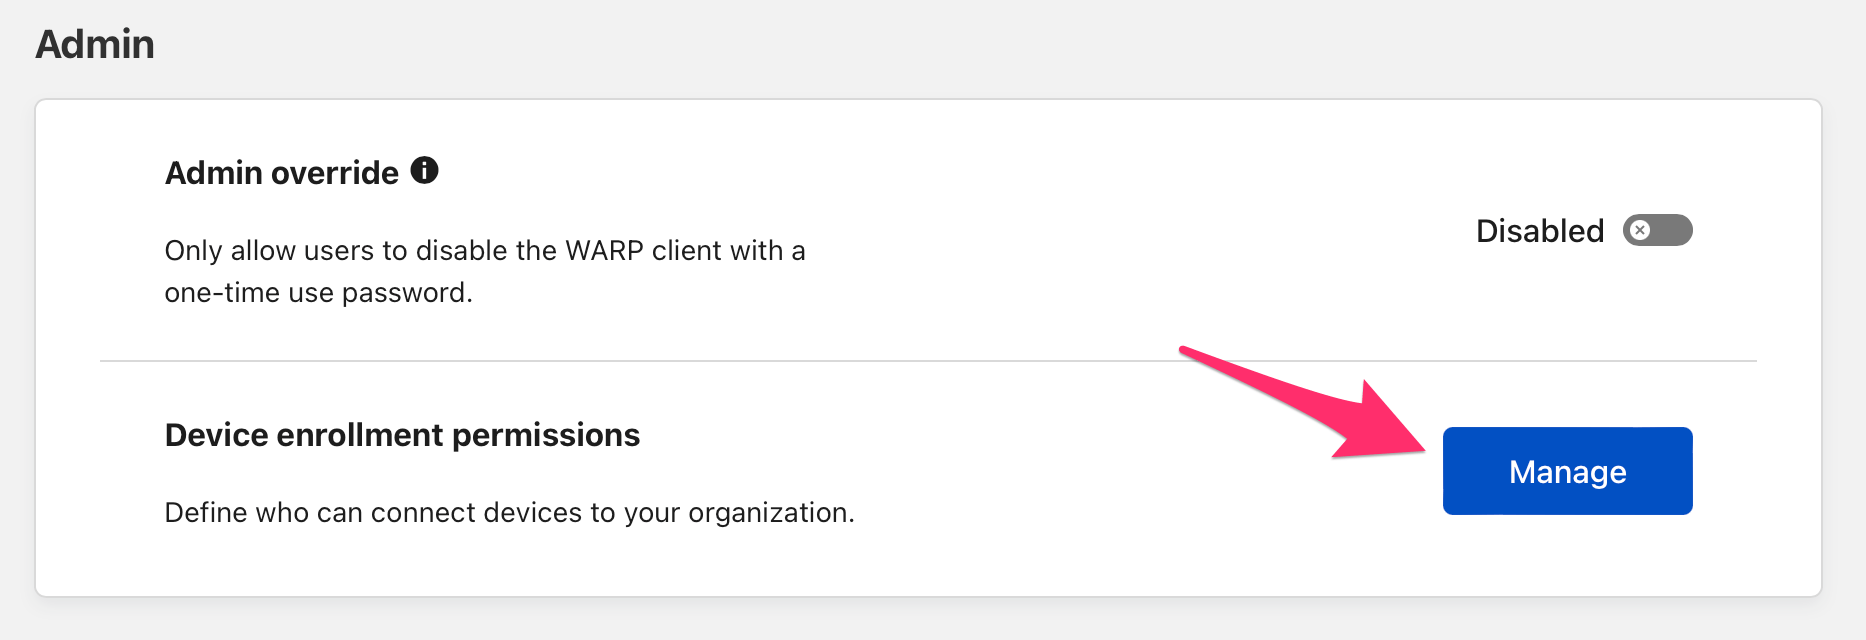
Head over the Teams dashboard > Settings > Devices > Device enrollment and click on "Manage":
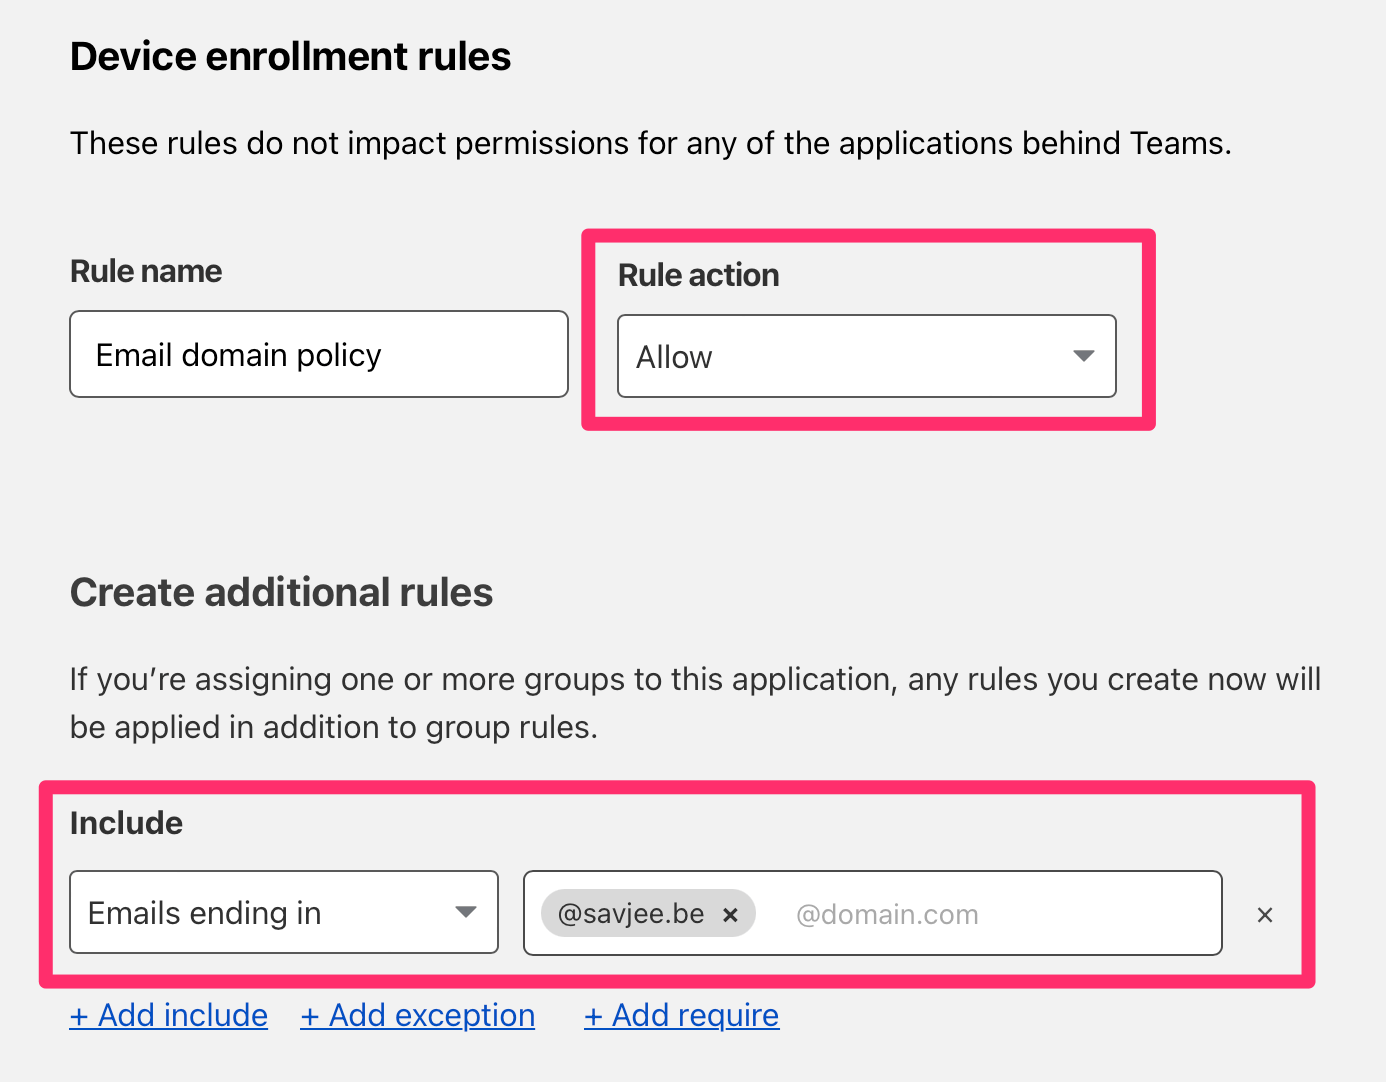
Here you can create a rule that only allows people with a certain email address to access your Cloudflare Team and the tunnels assigned to it. I whitelisted everyone with an @savjee.be address (which is only me):
Step 3: Configure your devices (Cloudflare WARP)
Next step: connect your phone and laptop to Cloudflare, so they can route traffic to your home network.
Start by installing Cloudflare WARP on your devices. The app acts as a free VPN service and protects your internet traffic on untrusted networks. However, we want to use it to access our tunnel.
To do that, open WARP's preferences, go to "Account" and click "Login with Cloudflare for Teams".
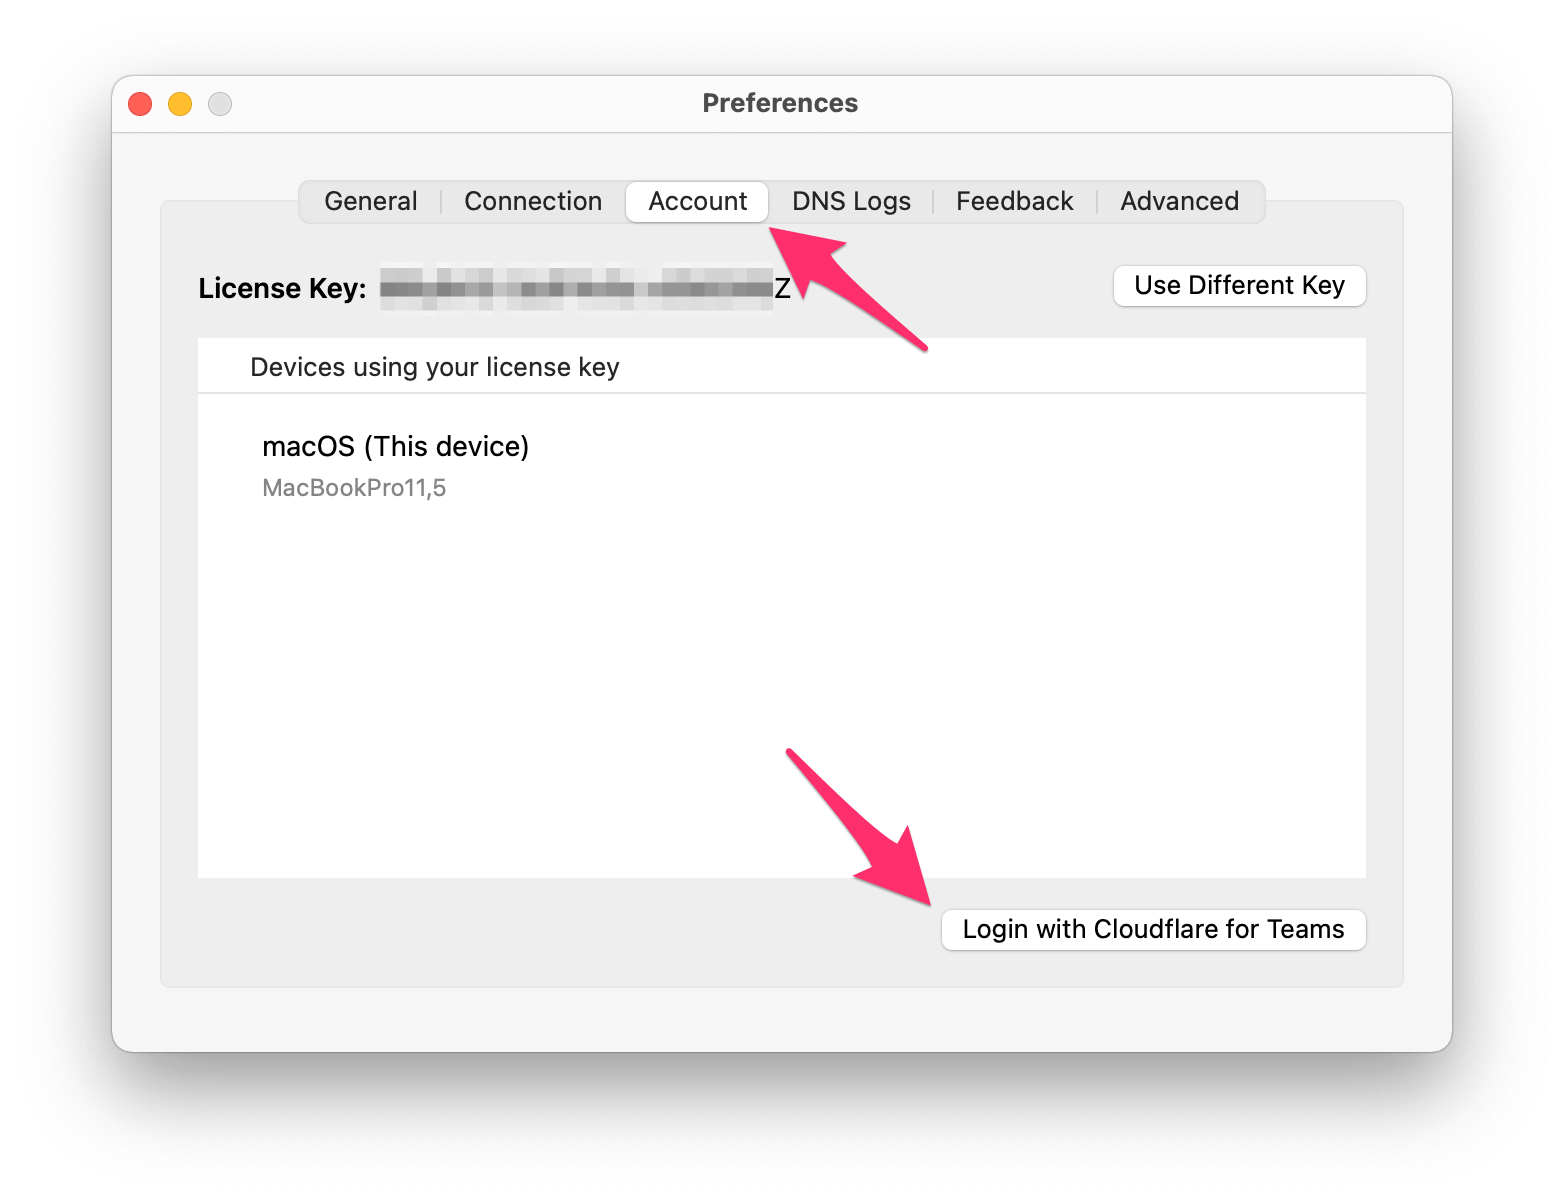
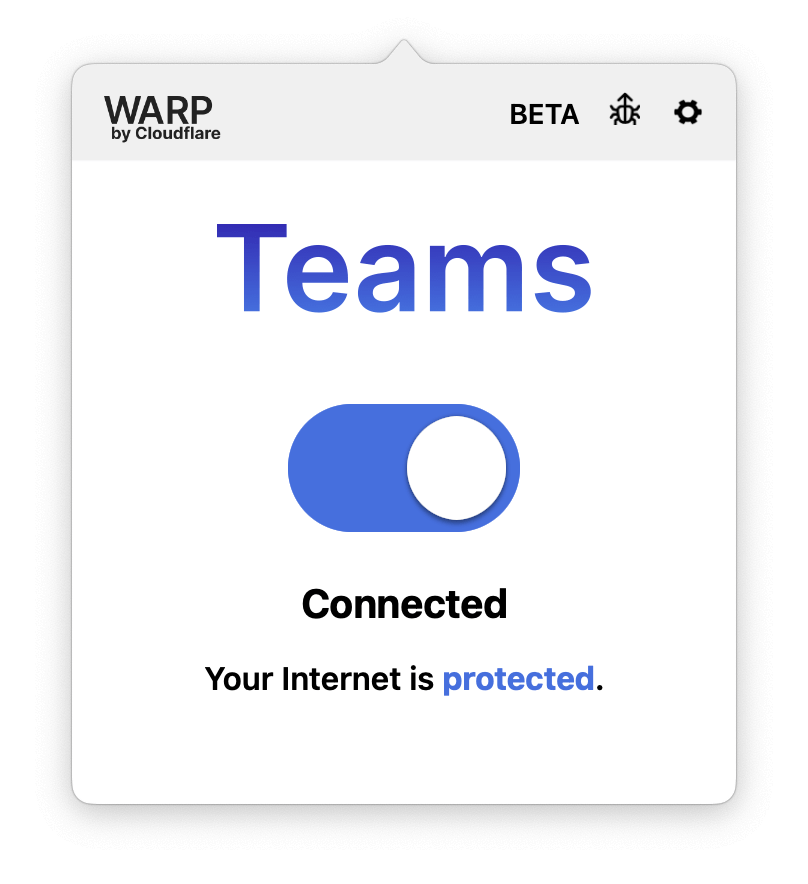
Login with your Cloudflare Teams account and afterwards, the WARP client will show that you're part of a team:
Step 3: configure split-tunnel
Last step is to configure WARP's "split-tunnel" feature. By default, WARP will exclude traffic to local IP addresses, meaning it will not route these requests to your home network.
To manage this, go to Cloudflare Teams Dashboard > Settings > Network > Split tunnels. Make sure that your home network is not in the list. For me, that meant removing the entry 192.168.0.0/16.
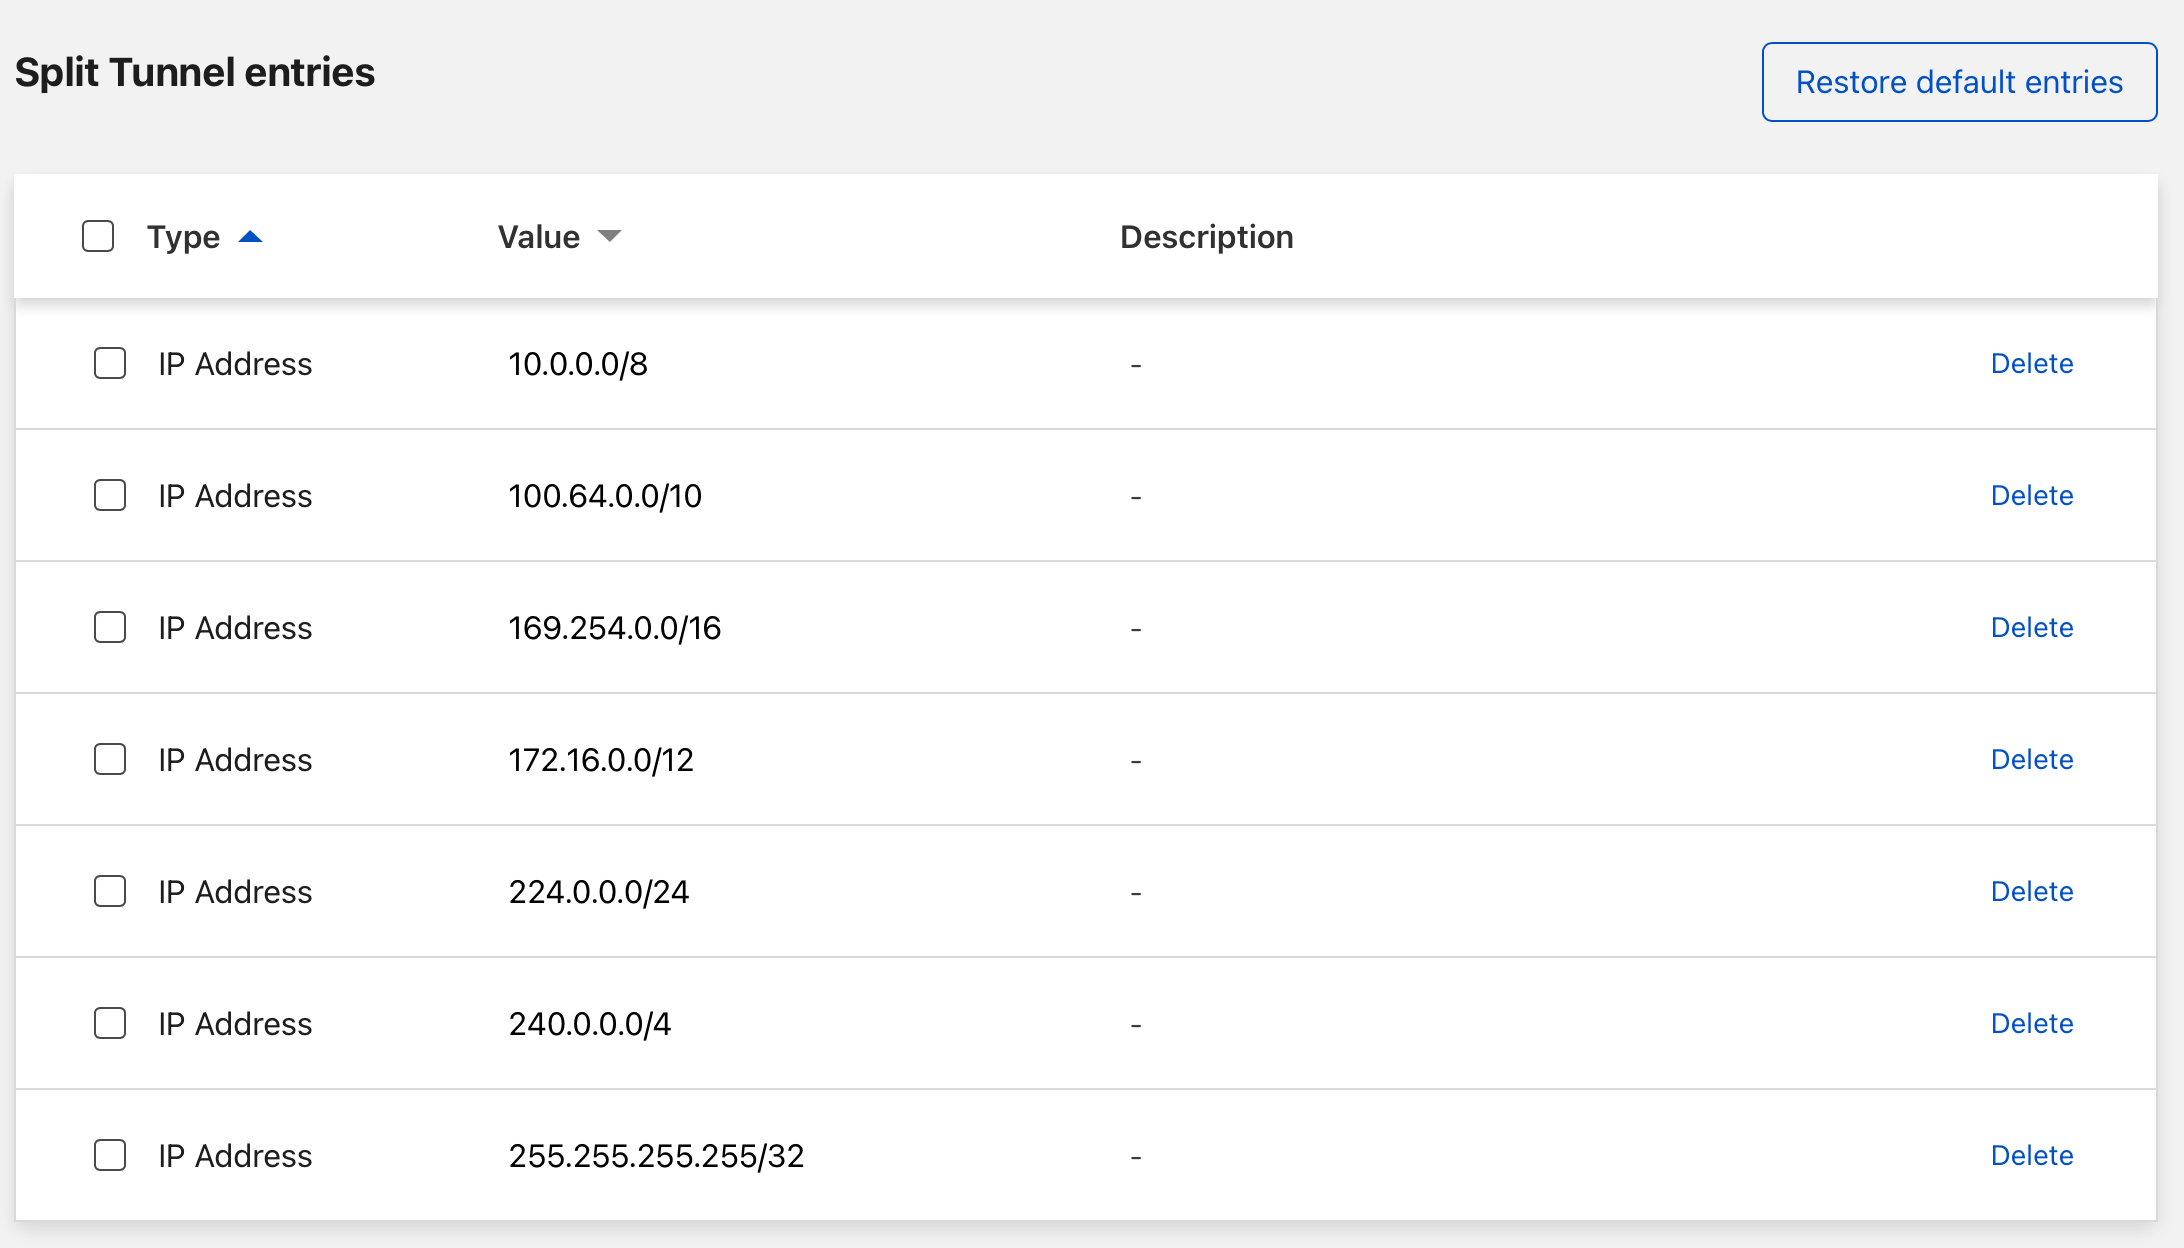
That's it! Go back to the WARP client on your device and let it connect to Cloudflare. Once connected, you should be able to access your home network and all services running inside it. Regardless of where you are!
Extra: Automatically connect to WARP
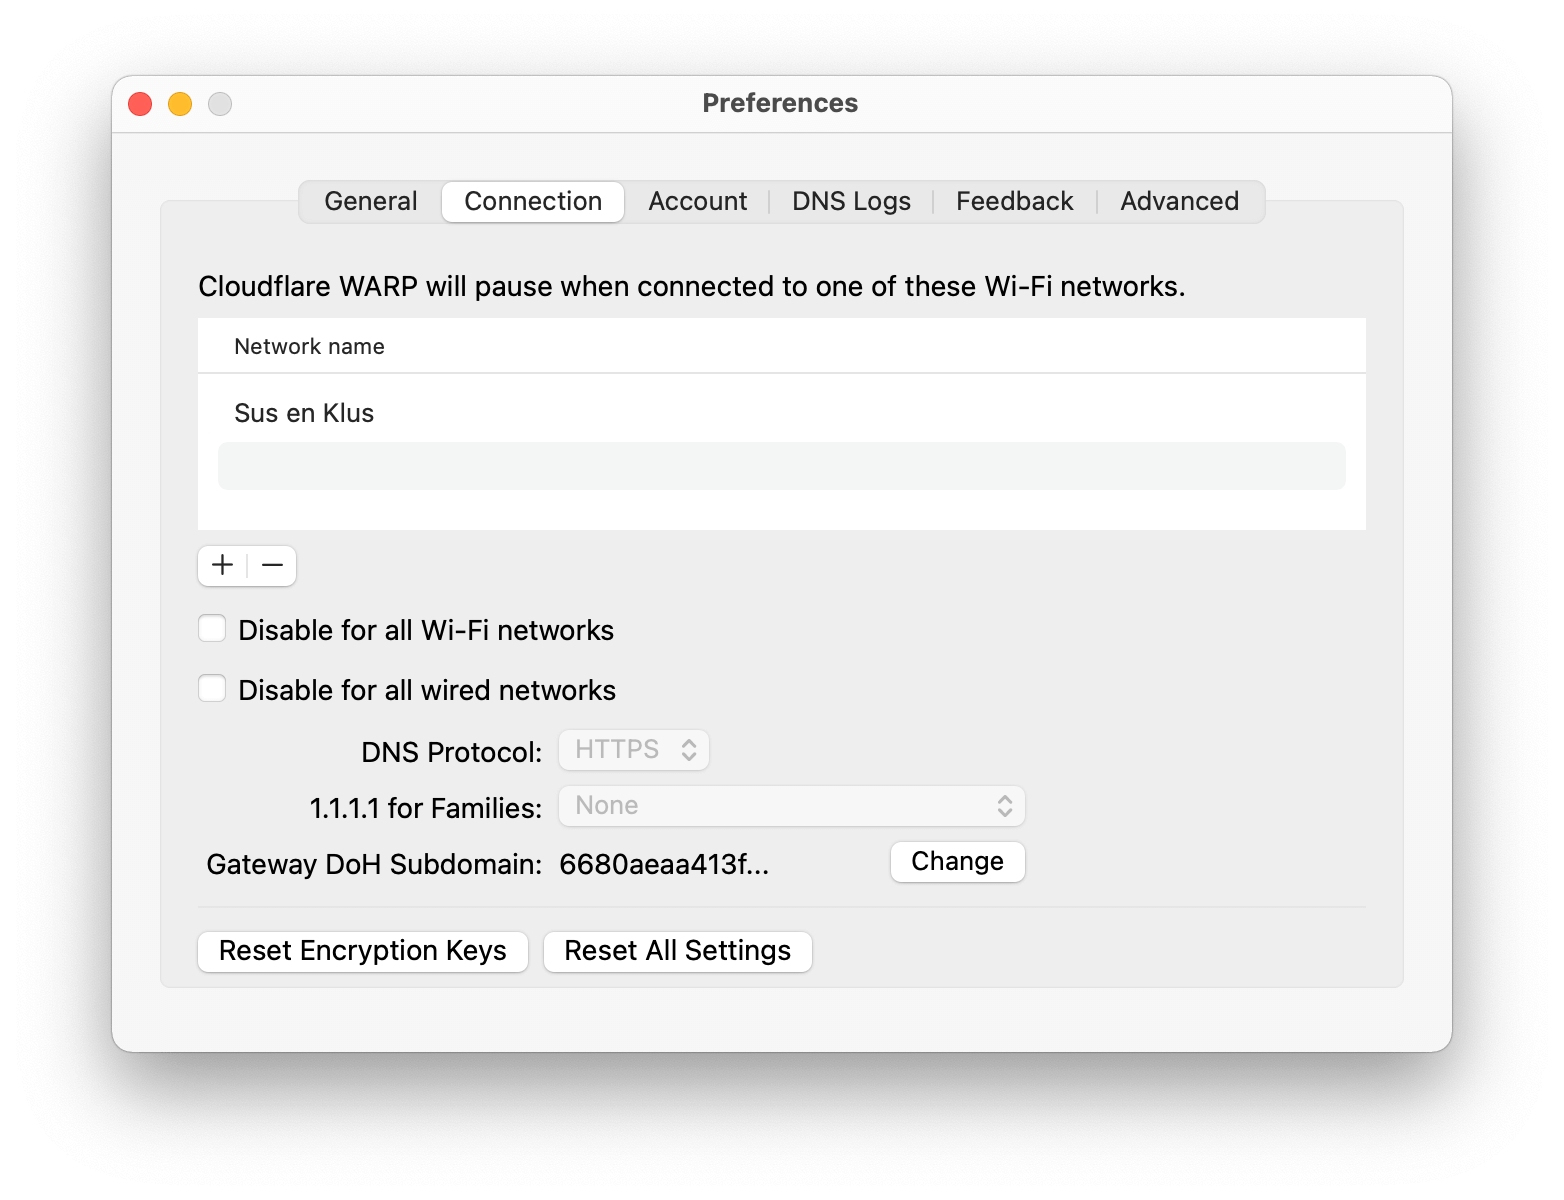
You can even configure WARP to activate itself when you're connected to an unknown Wi-Fi network.
In the preferences, you can list your trusted Wi-Fi networks. When you're connected to these, WARP will deactivate itself. Connect to a Wi-Fi hotspot and WARP will automatically protect your traffic and give you access to your home network.
All done!
So now you have...
- A free VPN-service to protect your internet traffic on untrusted networks (which automatically turns on and off)
- A way to (securely) access your entire home network without opening ports
Some people might disagree with the "secure" part and say that Cloudflare shouldn't be trusted. In theory, Cloudflare has full access to the networks you're exposing, but I trust them more than my own security configuration 😉.
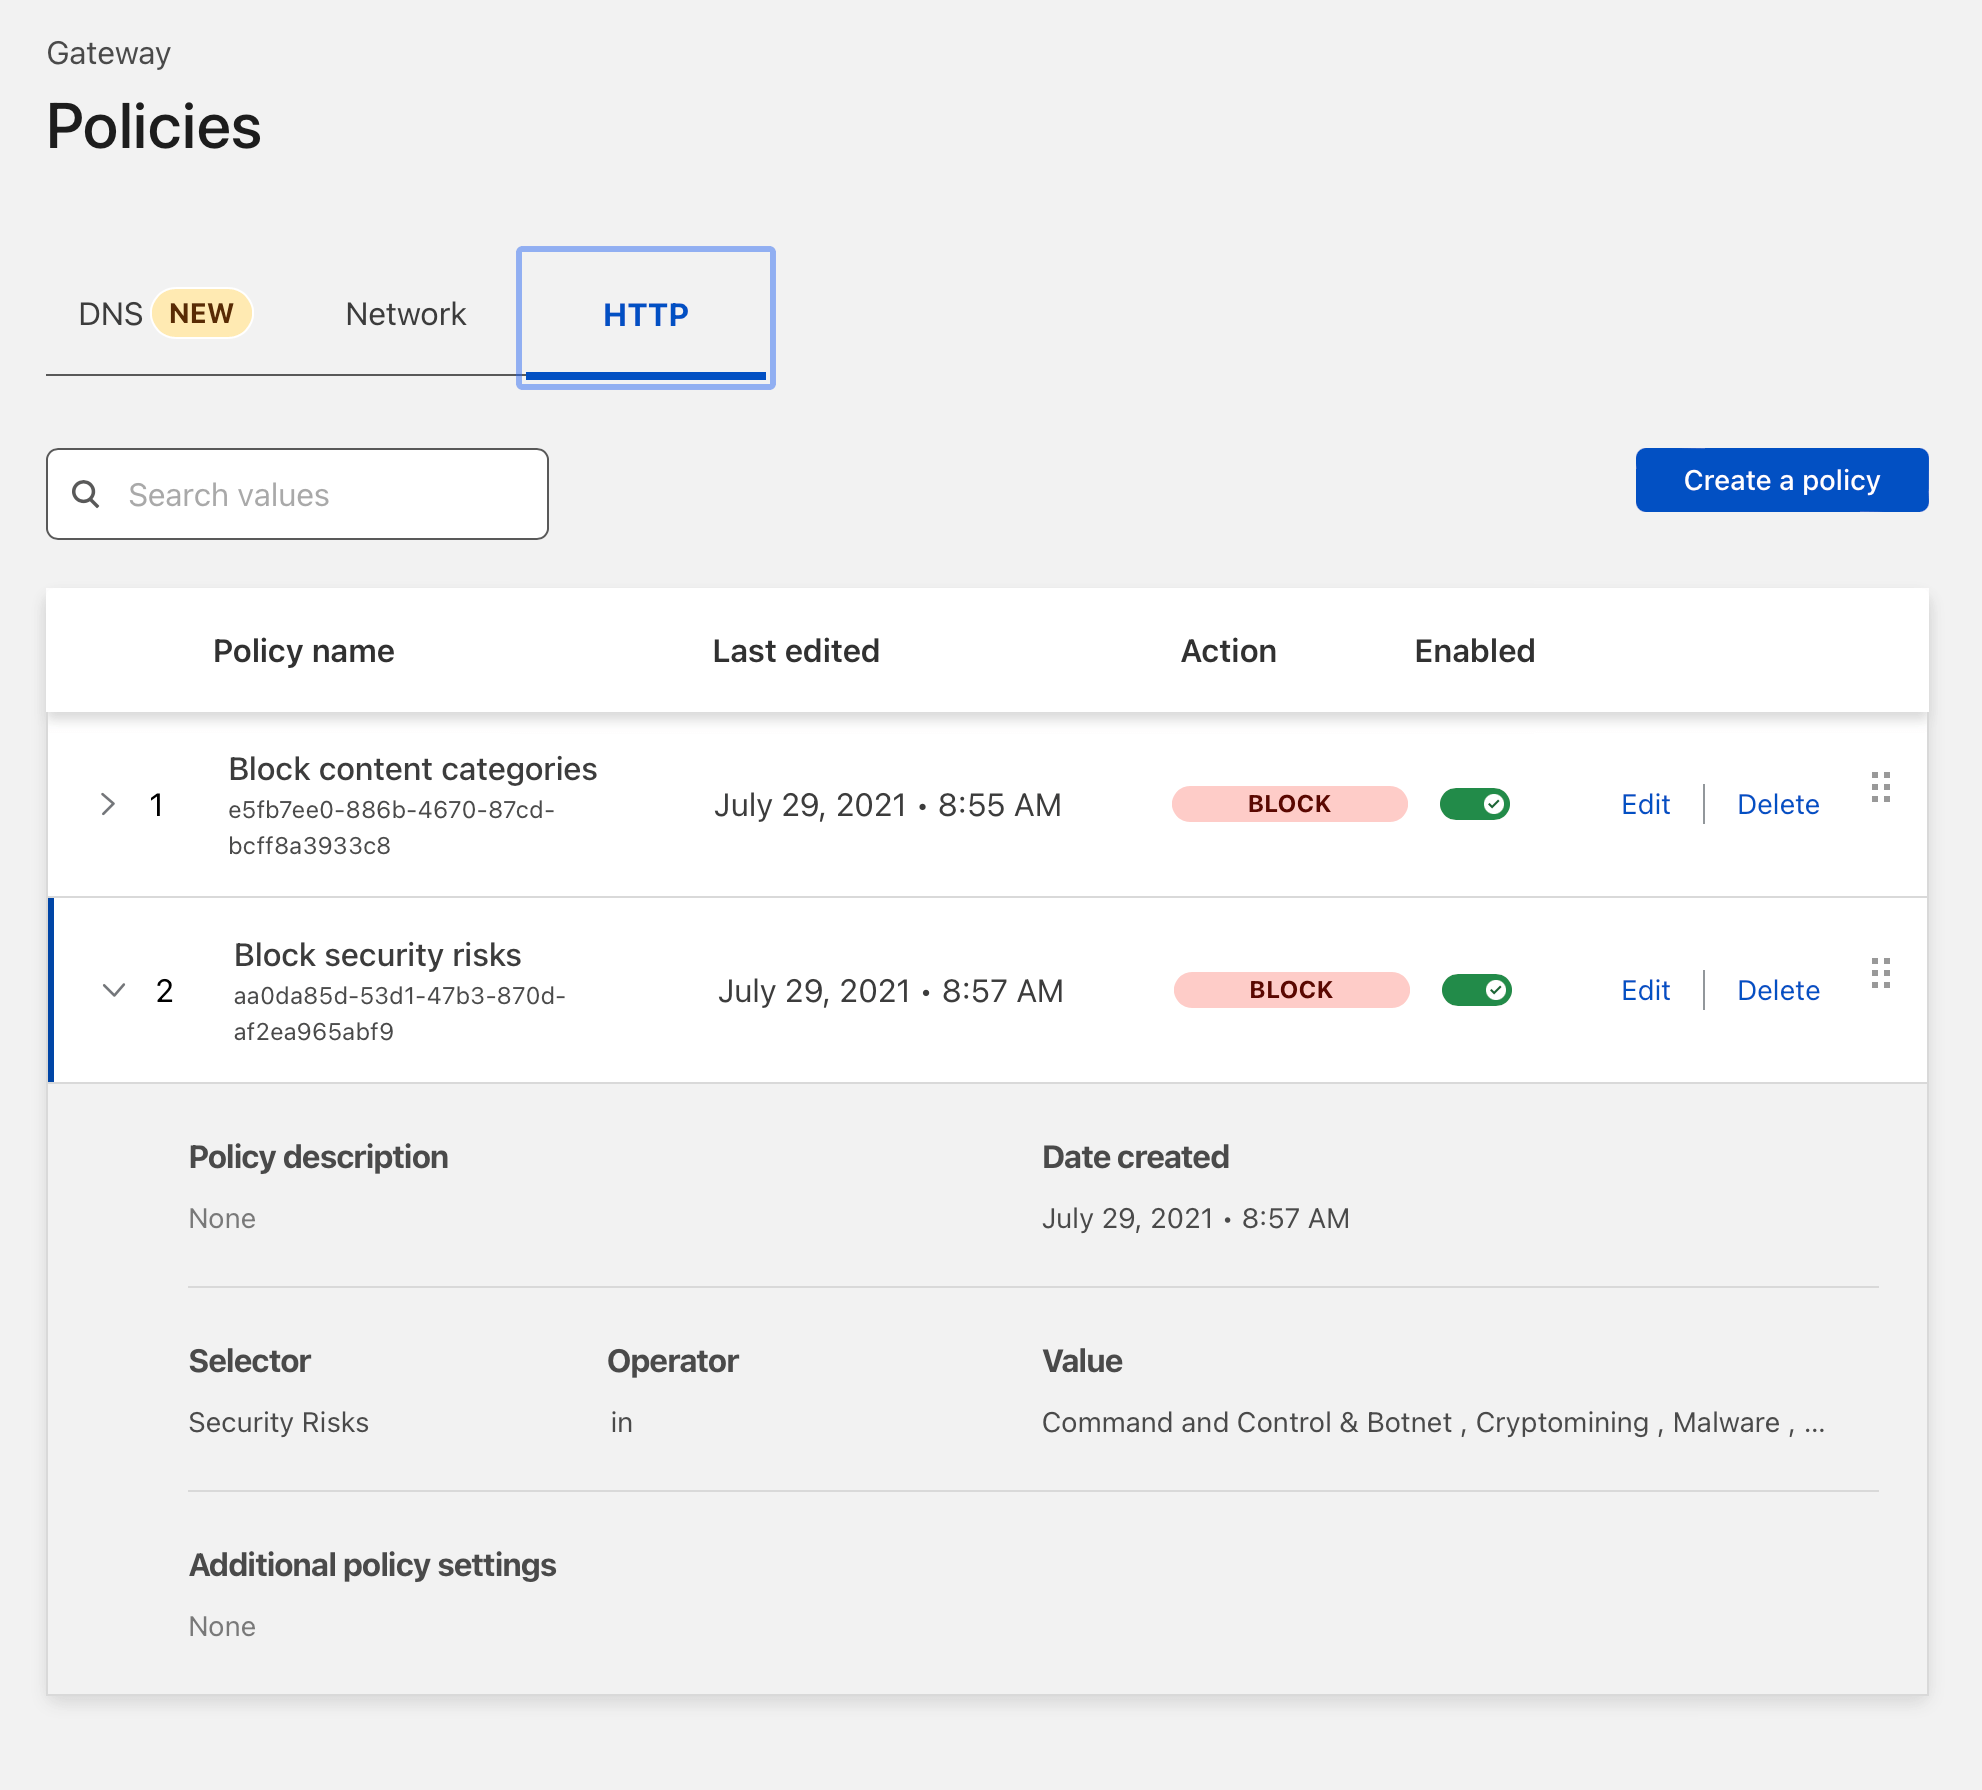
With Cloudflare Gateway, you can even add policies that automatically block security threats. I'm sounding like a fanboy, aren't I?
Why didn't I install WireGuard in a container and directly connect to my home network that way? Because I don't want to open ports, set up dynamic DNS, configure firewall rules, etc.
Extra: creating a HTTP endpoint for an application
Cloudflare Tunnel has one more interesting feature I want to outline here: the ability to connect local web servers to their edge.
I'm using this to "connect" my local Home Assistant instance to a domain name. That way, Home Assistant is reachable without being connected to WARP. This is useful for our phones. They periodically send their location to Home Assistant and maintaining a WARP connection at all times is taxing on the battery.
To expose a local web service, edit your config.yml file and add an ingress section:
tunnel: tunnel-home
credentials-file: /root/.cloudflared/YOUR-TUNNEL-UUID-HERE.json

warp-routing:
  enabled: true

ingress:
  - hostname: home-assistant.mydomain.com
    service: http://192.168.2.XXX:8123
  - service: http_status:404
Finally, create a CNAME record in your DNS settings that points towards your tunnel:
CNAME home-assistant.mydomain.com -> YOUR-TUNNEL-UUID-HERE.cfargotunnel.com
You can create as many ingress rules as you want. Personally, I only expose my Home Assistant instance this way. To access other services (like my NAS or Unifi controller) I connect to WARP.
Read more about this feature on Cloudflare's Documentation website.

