HEIC to JPG: Build a Quick Action with Automator
With the release of iOS 11, Apple switched from JPG to HEIC to store your photos. The High-Efficiency Image File Format saves a lot of storage space on your devices while still maintaining your photos' quality. However, it does become problematic if you want to share those files with people or services that only support JPG.
Here's how to build your own "Quick Action" for macOS that can convert HEIC photos to regular JPG's. No coding required.
Automator, what?
Automator is an app that allows you to automate various tasks on your Mac with a simple drag-and-drop interface. It has been distributed with macOS since Mac OS X Tiger.
Consider it a fancy version of IFTTT. It can take input for several places, perform tasks on them, and produce an output. Exactly what we need to convert HEIC into JPG!
What you'll build
This is what you'll build: a "Quick Action" that integrates with Finder:
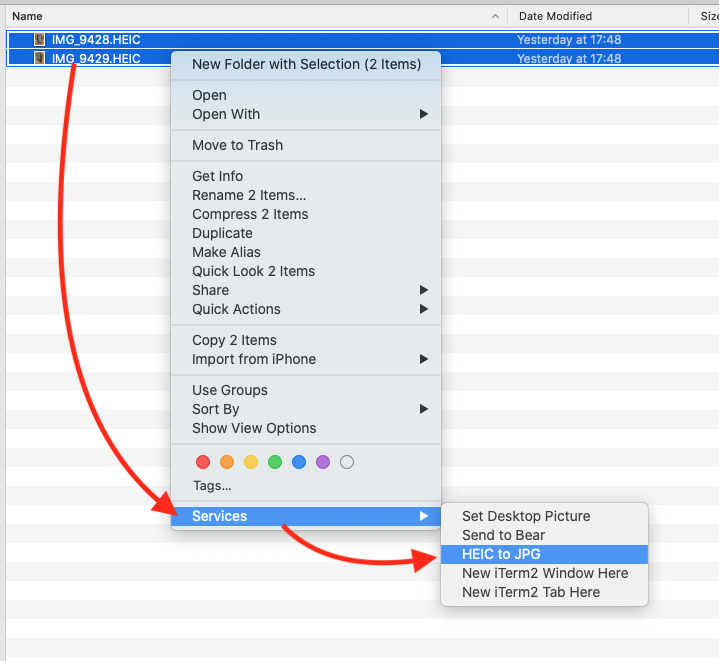
Simply right-click some HEIC files and click on "HEIC to JPG" to convert them. Easy!
Building a Quick Action
To get started, open Automator and choose to create a new "Quick Action":
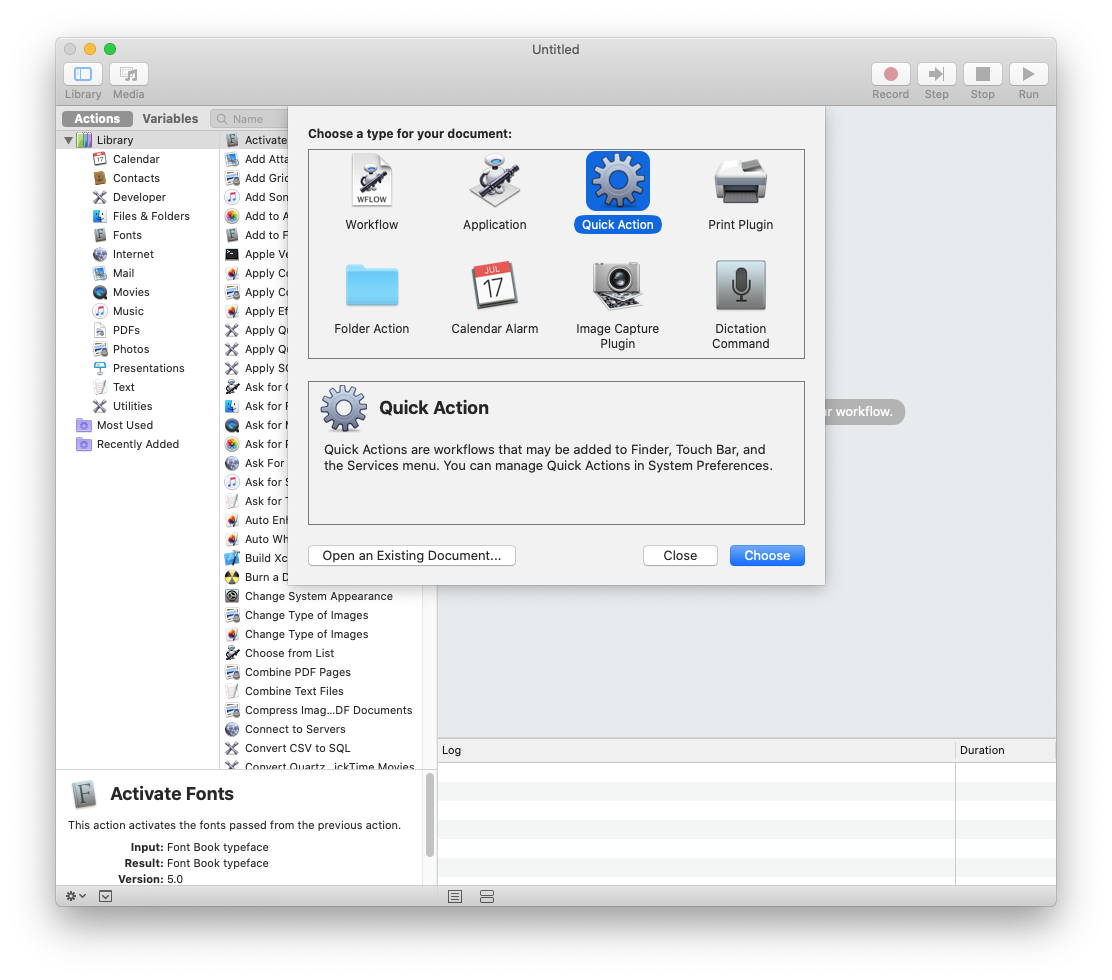
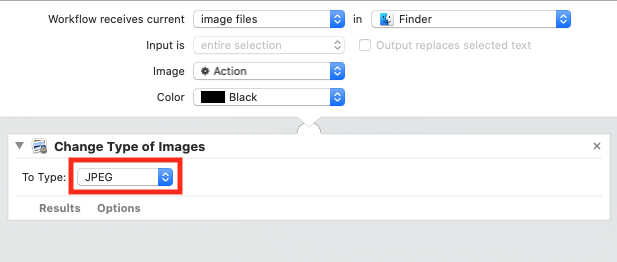
Every Quick Action receives an input. We can configure the input type, so I'll set it to "image files." We don't want to run this action on other file types.

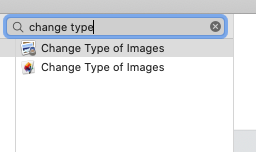
Next, use the search feature to look for the "Change Type of Images" action and drag it to your workflow.
Automator will warn you that this action will change the types of the selected images without preserving the originals. That's exactly what I want to achieve, so click on "Don't Add."
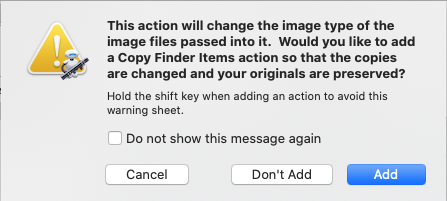
If you choose "Add," Automator will append an action that copies your images to another directory first. Up to you to decide if you want this or not.
Finally, configure the action so that it converts the images to JPG:
Installing your Quick Action
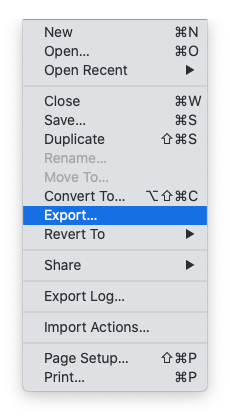
Now you can install the Quick Action on your system. Head over to "File > Export..."
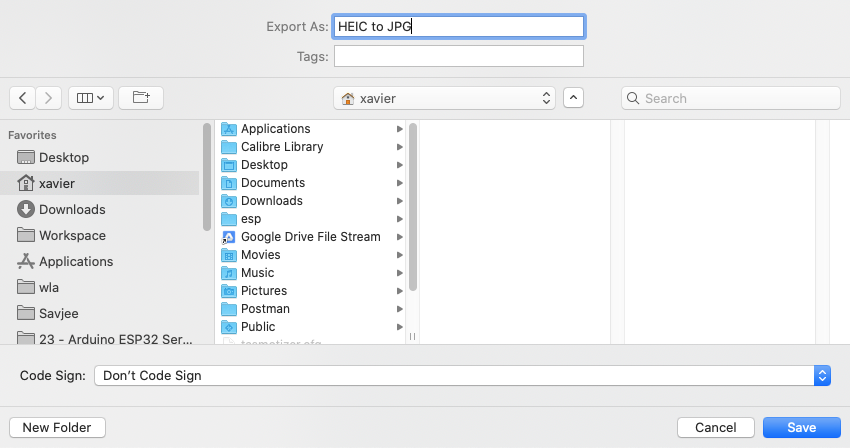
Choose a location where you want to store it (any location is fine) and click on "Save."
Next, go to the place where you save the workflow and double click it:
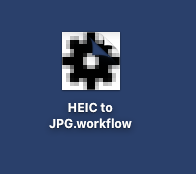
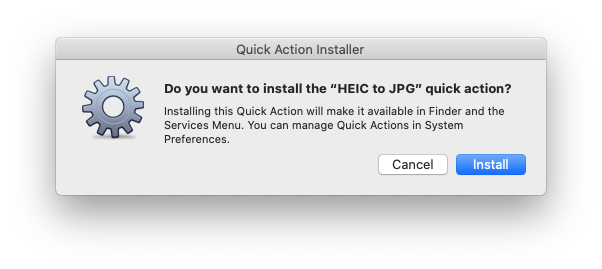
macOS will now ask you if you want to install your quick action. Click "Install" and that's it!
Usage
Using the Quick Action is super easy.
Select some HEIC files in the Finder > right-click > Services > HEIC to JPG.

After a few seconds, you'll see all HEIC files being replaced by regular JPG's. Ready for you to share them with non-Apple users or on platforms that don't support HEIC.
Download
Don't want to mess around with Automator? Here's a download link for a pre-made version ;)
