Tuya IR Hub: control Daikin AC (Home Assistant + ESPHome)
The release of ESPHome v1.15 brought better support for infrared climate control. This was enough to finally make my YTF IR Hub useable. Here's how I flashed ESPHome onto it and how I configured it for my Daikin AC and Home Assistant.
Hardware
Here's the situation. I have a Daikin AC unit in my office. It's used for both heating and cooling and comes with this beautiful remote control:
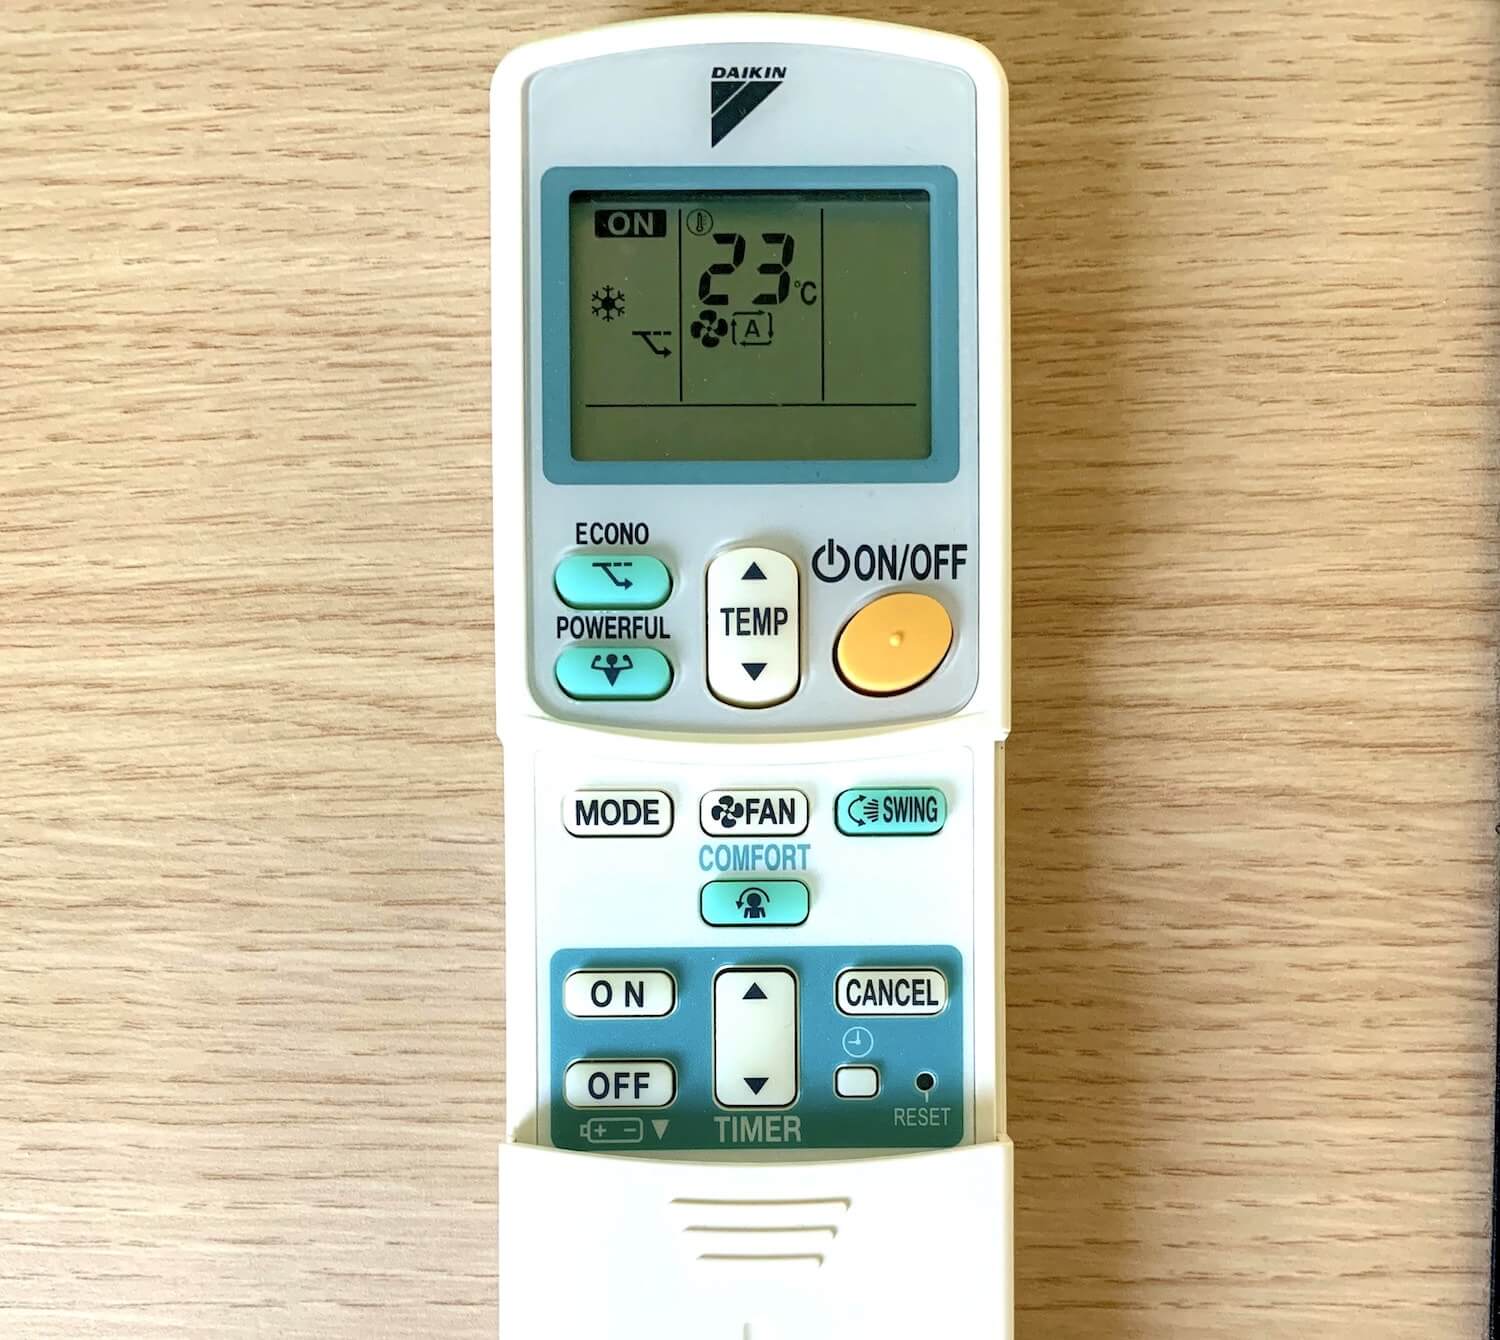
The goal is to replace this remote and be able to control the AC through Home Assistant. That way I can automate the hell out of it!
I thought about buying a second Logitech Harmony Hub, but I couldn't justify the $80+ price tag. It's essentially a plastic box with some infrared LEDs and a mediocre app (seriously Logitech, fix that app).
I also thought about buying a Sensibo (since I see their ads everywhere) but those are equally overpriced. There is a Home Assistant integration for them, but it updates through their cloud. 🤢
Instead, I found a variety of cheap IR hubs on AliExpress and I bought a Tuya-based hub:

They're sold by different brands, but the hardware is exactly the same. Here are three links to different hubs:
WARNING: Since writing this post, the Tuya firmware on many devices has been updated to prevent flashing a custom firmware. Some units even have a different microcontroller altogether. Proceed with caution and consult the tuya-convert wiki before buying.
Comparable models are available on Amazon, although at a higher price.
Why Tuya?
Why not buy a Broadlink device that is natively supported by Home Assistant?
Well, these Tuya devices are super interesting because they're based on the ESP8266 chip, which means I can flash Tasmota or ESPHome onto them.
That way, everything is running on my local network. No (Chinese) cloud connection required and no dependency on the goodwill of manufacturers to keep their clouds running and firmware maintained.
Plus, they're cheaper than Broadlink units. (I'm a cheapskate 😉)
The only downside to flashing your own firmware is that you don't get access to their database of IR codes. But that's no big deal, because I only want to control my AC. Both ESPHome and Tasmota support that natively!
ESPHome configuration
Before we can flash a custom firmware on this IR hub, we need to compile one. That means writing some YAML configuration!
I'm using the ESPHome add-ons for Home Assistant to write my configuration, compile a firmware and update my devices.
This is not a complete guide on how to get started with ESPHome. Check out this tutorial if you're new to it.
Let's start with the main configuration that I use on all my devices. It gives them a name, connects them to WiFi and enabled Home Assistant integration:
esphome:
  name: ir_office
  platform: ESP8266
  board: esp01_1m

wifi:
  ssid: !secret wifi_iot_ssid
  password: !secret wifi_iot_password

captive_portal:
logger:

api:
  password: !secret esphome_api_password

ota:
  password: !secret esphome_api_password
The IR hub contains 3 main components that we have to configure: the status LED, the infrared receiver and the infrared emitter. I got the GPIO pin numbers for them from the Tasmota documentation:
# Use the blue LED as a status light.
#   Blink slowly = Temporary issue (WiFi/MQTT disconnected, sensor unavailable, ...)
#   Blink quickly = Error encountered
status_led:
  pin: GPIO4

# Configure the IR receiver. Handy to pickup confirmation messages
# from your AC (or capture commands from the actual remote)
remote_receiver:
  id: rcvr
  pin:
    number: GPIO5
    inverted: True
  dump: all

# Configure the IR LED: this one sends commands to other devices
remote_transmitter:
  pin: GPIO14
  carrier_duty_percent: 50%
With this configuration you'll be able to send and capture raw IR signals. All that's left is to expose this as a climate component to Home Assistant. It's as simple as adding 4 lines:
# Configure the AC unit you have. Mine is a Daikin. Other supported brands are listed here:
# https://esphome.io/components/climate/ir_climate.html?highlight=climate
#
climate:
  - platform: daikin
    name: "Office AC"
    receiver_id: rcvr
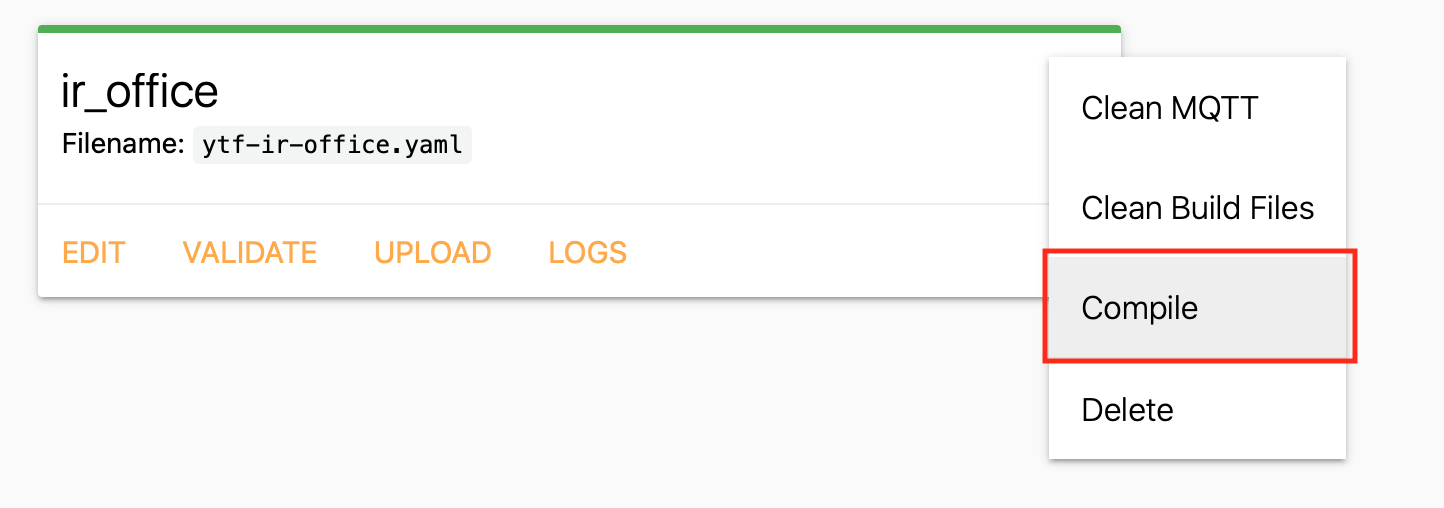
With that, the ESPHome configuration is finished and can be compiled. In the ESPHome add-on, go to your device, click the three dots and click "Compile".
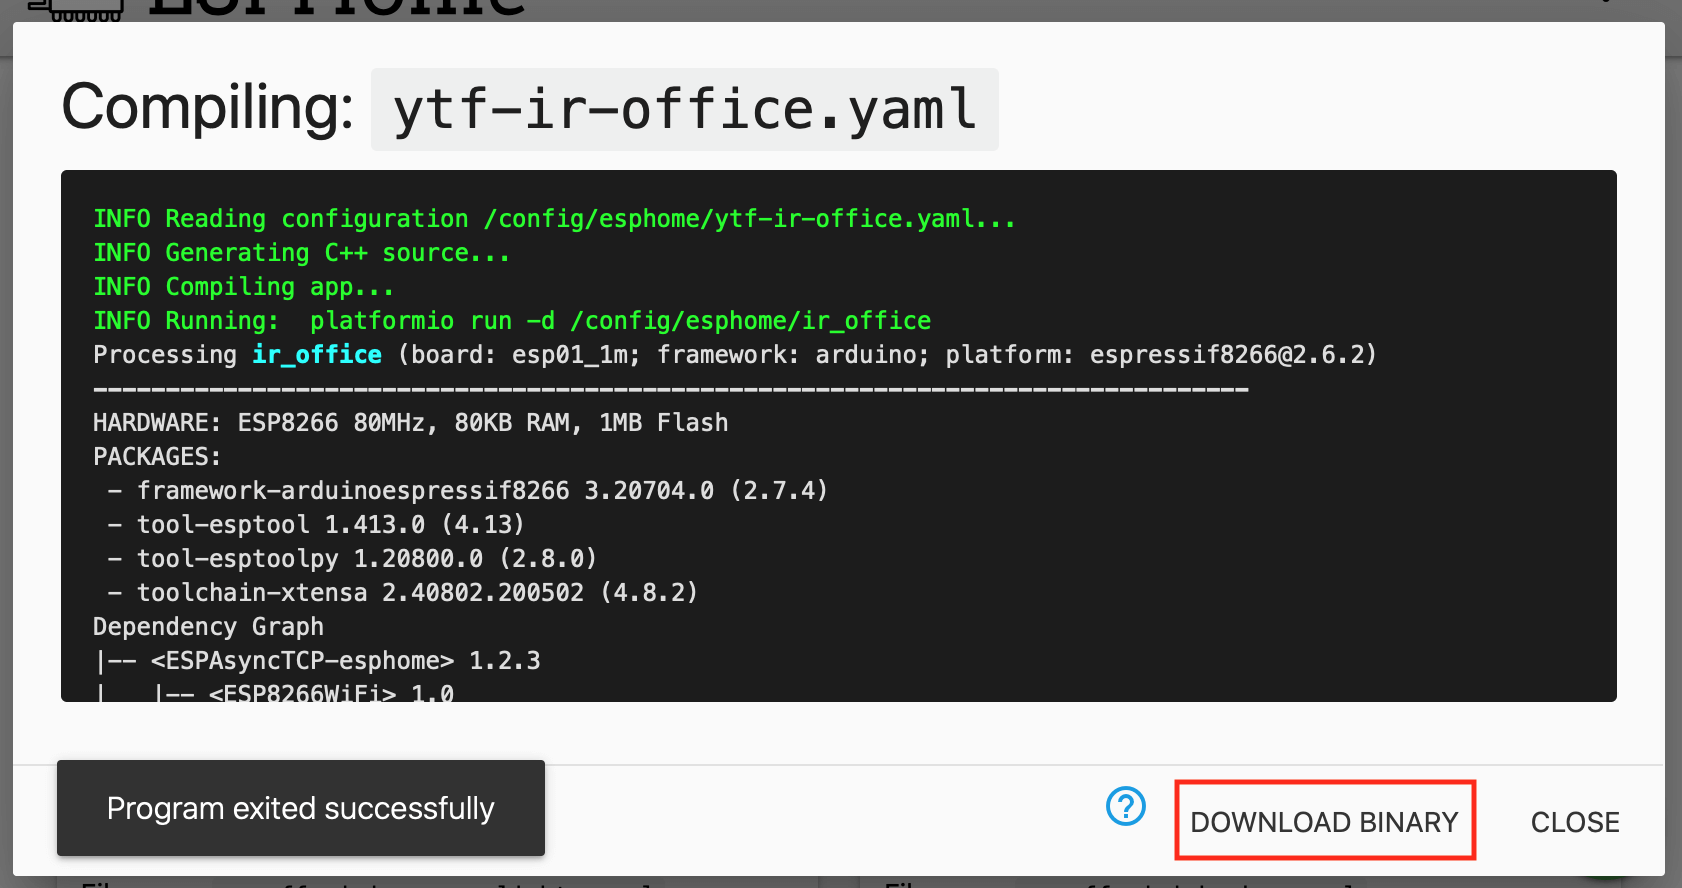
After compilation, click "Download binary" to get the .bin file:
Tuya convert
Now we can flash the custom firmware onto the hub. You can do this in 2 ways:
- Open up the device and solder cables to the RX and TX pins so you can use a USB to Serial adapter.
- Use tuya-convert to flash a custom firmware over the air.
Although I'm good at using a soldering iron, I prefer not to open up devices when I don't have to.
So I busted out an old Raspberry Pi 3B+, installed an older version of Raspbian (Stretch is the officially supported version for Tuya Convert) and ran through the instructions.
This post is by no means a step-by-step guide for Tuya convert but their README file is very comprehensive and relatively short. I got mine done in about 15 minutes (excluding the time it took to install the Pi).
Just remember to use your own bin file instead of the Tasmota firmware mentioned in the instructions ;)
Home Assistant integration
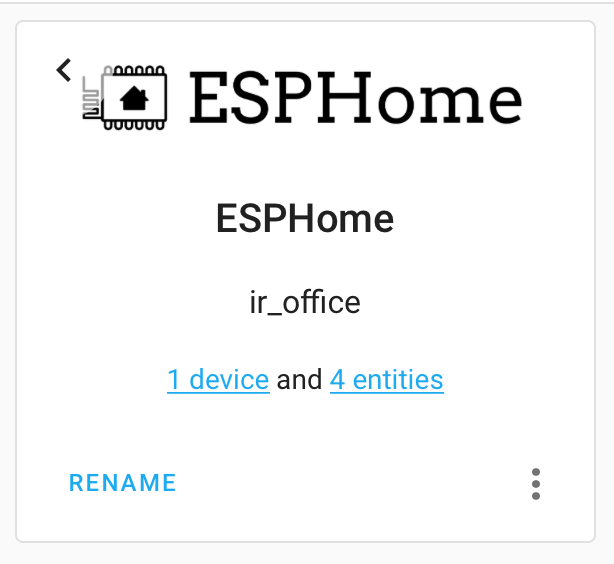
After flashing the firmware, your device should reboot and come online in about 1 minute. Mine got immediately discovered by Home Assistant:
With no additional configuration in Home Assistant, ESPHome exposes a climate device to Home Assistant. Including the supported operations (heating, cooling, drying, fan), fan speed and swing mode.
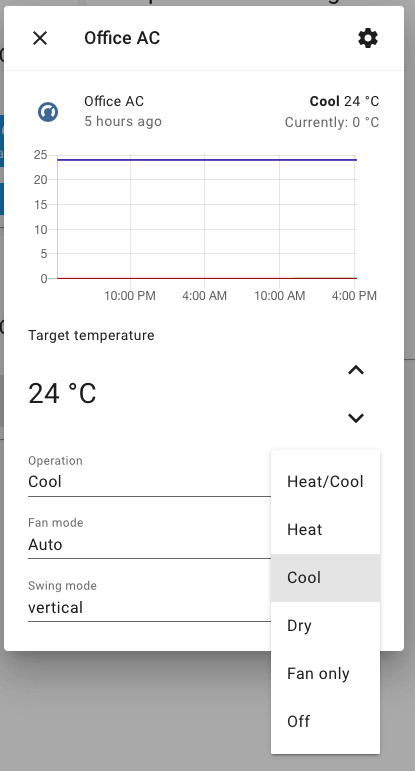
The only limitation is that it doesn't capture the current temperature of the room. That's because the IR signals are not bi-directional: the AC doesn't send status messages back (I think no AC unit does that?).
Luckily, I have cheap Xiaomi/Aqara temperature sensors in all rooms to use as an alternative.
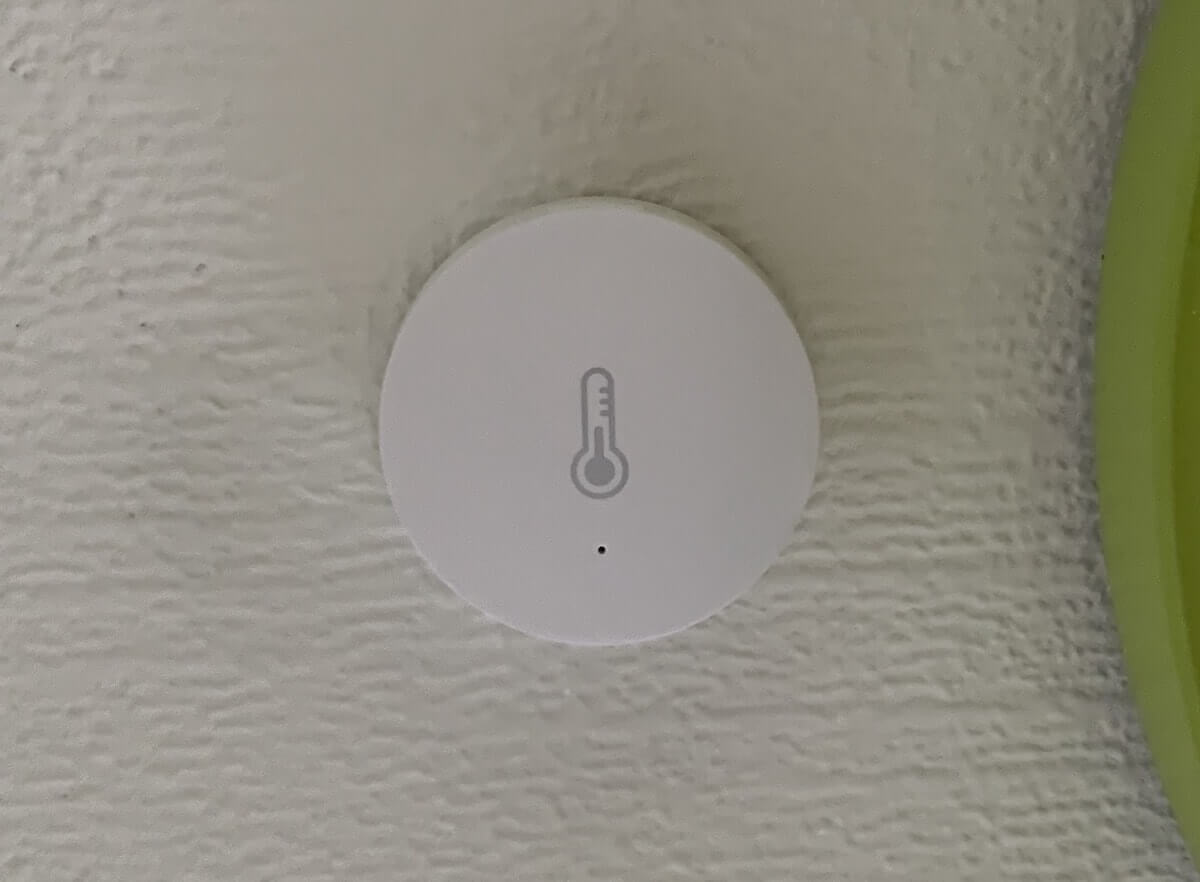
However, the default thermostat card does not support using a custom temperature sensor. So I'm stuck with this:
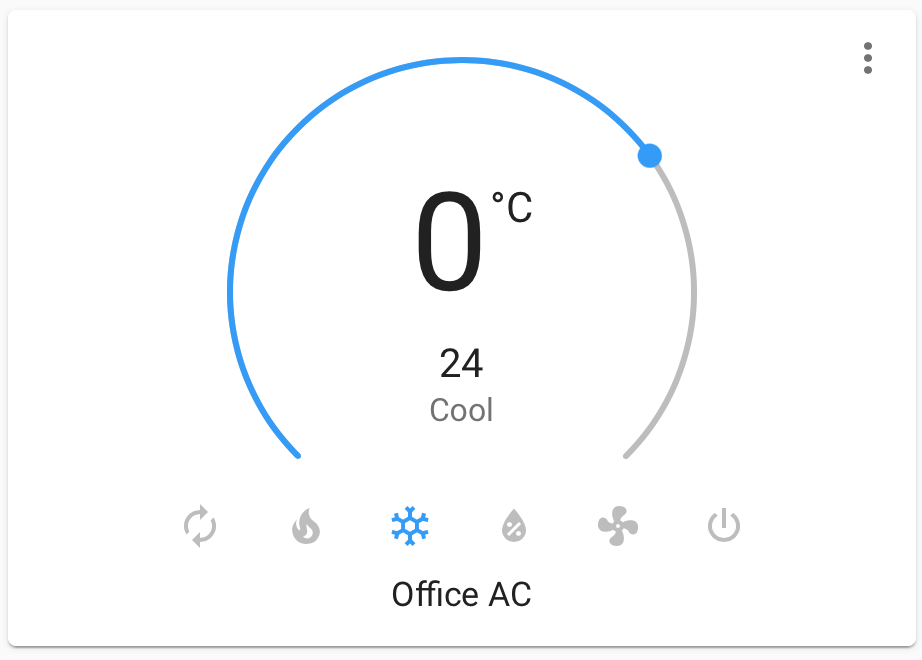
I reported this to the development team, so let's hope they'll add that capability!
In the meantime, there are two possible alternatives:
- Use a custom card, like simple-thermostat
- Import the value of your temperature sensor into ESPHome and then send it back to Home Assistant.
The custom simple-thermostat card looks like this:
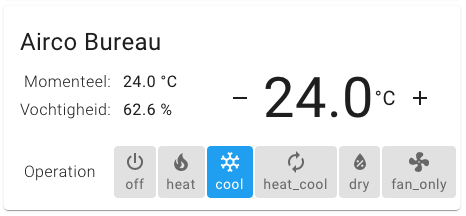
It's not as pretty as the default one, but it allows to use another temperature sensor. Here's the configuration for it:
type: 'custom:simple-thermostat'
entity: climate.office_ac
name: Airco Bureau
step_layout: row
step_size: 1
hide:
  temperature: true
sensors:
    # Use my Aqara temperature sensor instead
  - entity: sensor.temperature_bureau
    name: Temperature
  - entity: sensor.humidity_bureau
    name: Humidity
The second option involves importing your temperature sensor from Home Assistant into ESPHome. Here's the ESPHome configuration for that:
# Import the state of the Aqara sensor from Home Assistant into
# ESPHome.
sensor:
  - platform: homeassistant
    name: "Current temperature"
    entity_id: sensor.temperature_bureau
    id: temp
    internal: true

climate:
  - platform: daikin
    name: "Office AC"
    receiver_id: rcvr
    # Add a reference to the temperature sensor here
    sensor: temp
Flashing this to your device will instantly make the default thermostat card behave as it should ;)
Button Text Card
On my main Home Assistant page, I've created a dashboard with an overview of all active things in the house.
I'm using a button-text-card to remind me that the AC is on. Clicking on it, redirects me to the climate control page.

The configuration for it:
entity: climate.office_ac
hide_condition: |
  [[[ return entity.state === "off" ]]]
icon: 'mdi:air-conditioner'
title: Airco staat aan
subtitle: >
  [[[ return entity.state.charAt(0).toUpperCase() + entity.state.slice(1) + ' -
  ' + entity.attributes.temperature + '°C']]]
type: 'custom:button-text-card'
tap_action:
  action: navigate
  navigation_path: /lovelace/climate
Using the remote
But what about the Wife Approval Factor? What if she uses the old-school remote instead? Does that screw up the system?
Nope, not at all! The IR Hub will pick up on the commands you send with the regular remote and update the state in Home Assistant. Sweet!
This works, because I've defined a receiver_id in the climate component of ESPHome.

Even though I don't use the remote anymore, I still could. And it helps massively with the wife-approval-factor. She doesn't need to unlearn something or change the way she interacts with the AC. Home Assistant is a nice-to-have addition for her.
Why not use Tasmota?
Why not use Tasmota instead of ESPHome?
Tasmota recognizes the IR commands for my Daikin AC, and even decodes them into JSON showing all the control options.
However, I found that integrating it with Home Assistant is way harder. You have to go through MQTT, and currently there is no way of create a climate component in Home Assistant that supports sending different IR commands (based on temperature, mode, fan speed, ...)
Instead, you need a custom integration like SmartIR or Tasmota-IRHVAC. I try to avoid using custom integrations when there are other "vanilla" options available.
That's when ESPHome came into the picture. Very easy to configure, support for Daikin's IR codes and 1-click integration with Home Assistant. I'm sounding like a fanboy, aren't I?
ESPHome also supports other brands of AC units. Take a look at their IR Climate Control documentation page for more details.
Conclusion
So that's my smart-ish AC setup. Home Assistant now allows me to automate the AC, turn it on/off automatically, sending me notifications when it was left on, etc.
Have thoughts, ideas or questions? Let me know in the comments below!

